
CALLIGRAPHY FOR BEGINNERS

WHY CALLIGRAPHY AND HOW I STARTED
I have always been fond of writing - using a pen and paper. I am rather particular with neat writing, and I have always received compliments on my writing from my family and friends! I guess learning calligraphy has also got to do with my personal interest besides filling my spare time that I have now!
I have seen many images and videos of hand lettering all over social media and damn aren't they just mesmerizing and satisfying to watch! I never really gave it much thought until recently. I started YouTube-ing many calligraphy videos to understand the concept better, how it's done, materials needed, and most importantly if it's possible to self learn (I will share a few helpful videos later on in the post).
I felt really overwhelmed on my very first calligraphy practice mainly due to expectations vs reality. Obviously nothing I wrote looked anything like what I see online. In fact, that lasted for a couple of weeks before it started looking more presentable.
Before purchasing any calligraphy tools, I actually tried out faux calligraphy using a normal ball point pen as a little trial. Do bear in mind though that faux calligraphy and actual calligraphy feels very different although the end results are pretty similar. I bought my very first brush pen from Popular Bookstore, and it's been close to 6 months now since I started this new found hobby (and still learning).
I believe that the core attitude one must have for learning calligraphy is to have patience and always remember that one does not master the skill overnight. It takes many practices to get the hang of things. (And I guess this rule pretty much applies for anything we do in life in general!)
Honestly, up till today, I still believe that there is still room for improvements but I am so excited to share this write up with you guys to help give that little beginner's push and at least have an idea on where you guys can begin! I hope by the end of this post, all you calligraphy enthusiast will finally be able to take the first step in learning this skill!
SELF LEARNING / CLASSES / WORKSHOPS.

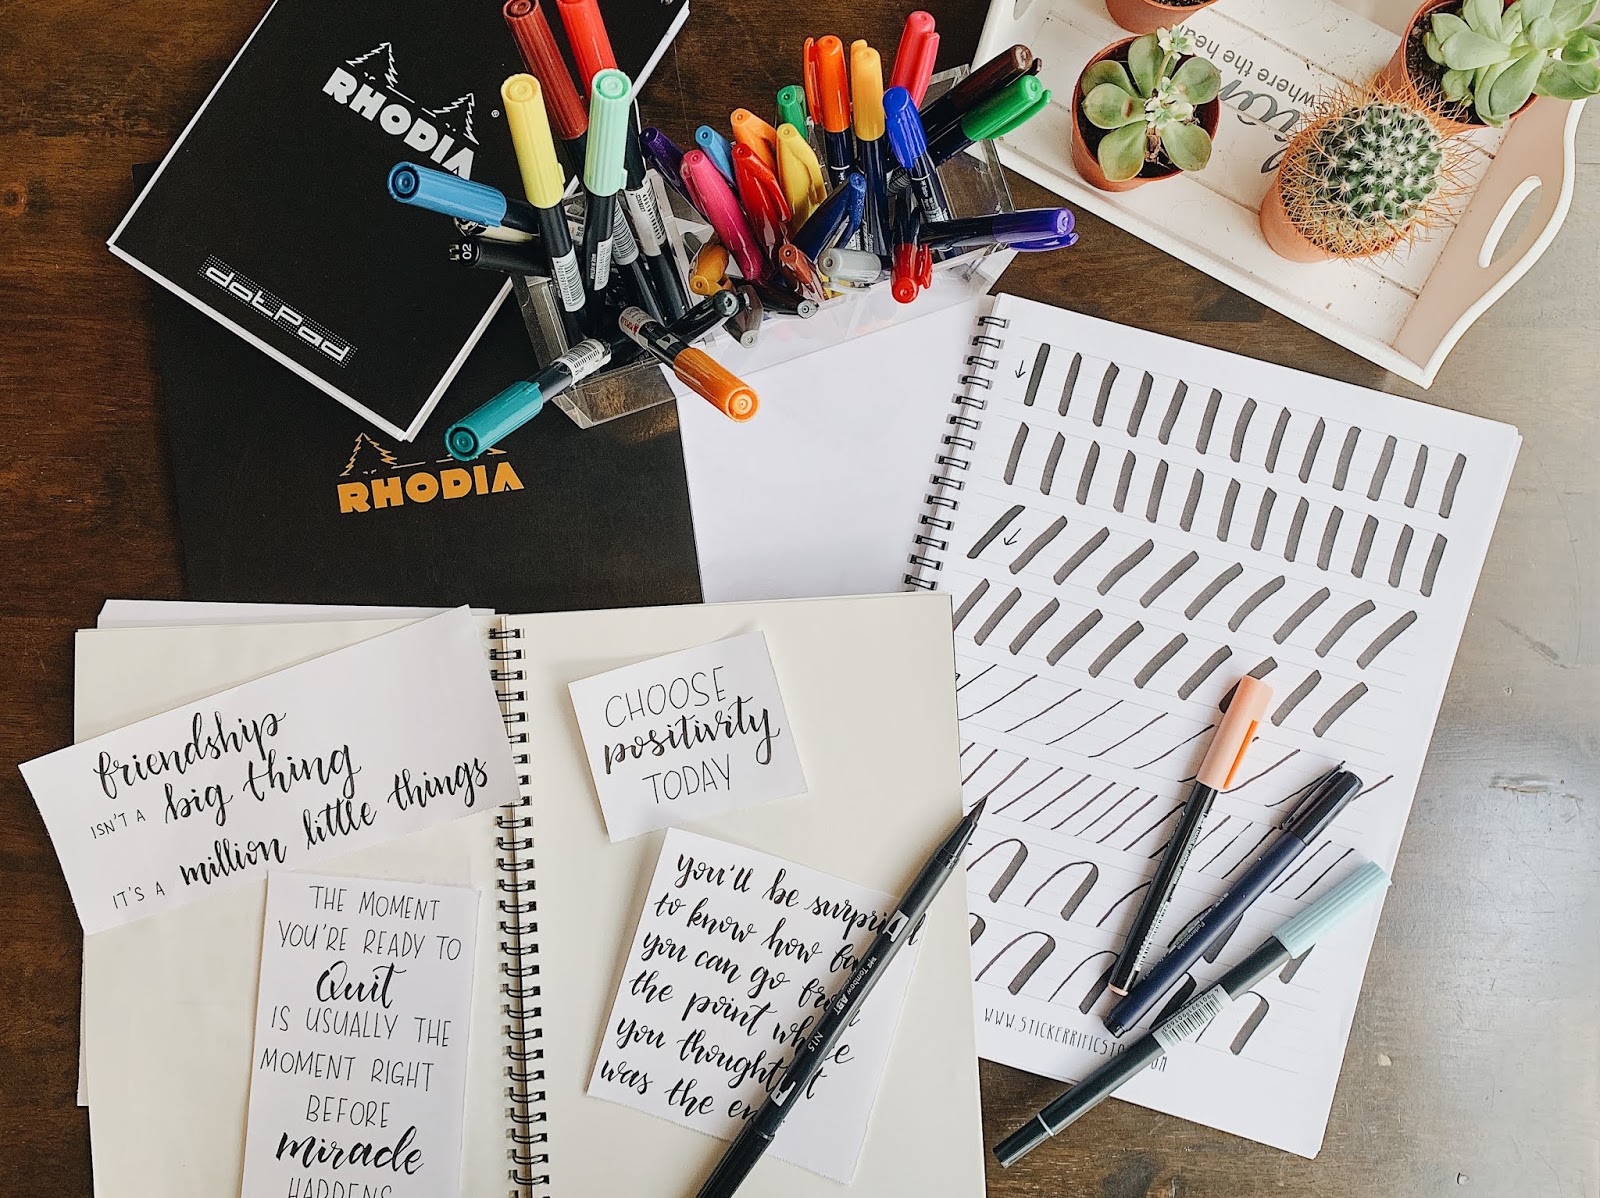
Photo credits to Stickerrific, The Craft Crowd & Washilicious
I believe that it is possible to self learn calligraphy as I personally have yet to attend any classes or workshops. When I first started off calligraphy, I was very keen on at least going for a workshop to learn the proper techniques and have someone to guide me. However, my schedule was tight and I ended up self learn through watching tons of YouTube videos.
I guess there is no right or wrong in calligraphy as everyone has a right to their own creativity but of course there are some basics rules to follow. If you have the time, I would encourage you to attend a workshop to ensure that your techniques are correct with proper in-person guidance. But then again, it's definitely up to you at the end of the day if it's needed.
If you're interested to attend workshops not just limited to calligraphy, you may check out the following websites / stores as they conduct many different types of workshops monthly:
The Craft Crowd: https://thecraftcrowd.com

HELPFUL AND IMPORTANT VIDEOS TO WATCH
Here's a list of videos that I self learned from and helped me to understand calligraphy better.
1. Calligraphy & Handlettering for Beginners by AmandaRachLee
Key Points:
- Basic strokes practices
- 'X-height', ascending & descending letters
- Lettering styles
- Baselining your letters
- Brush pens comparison
- Faux Calligraphy
2. Basic Calligraphy Strokes (Explanation) by The Happy Ever Crafter
Key Points:
- Difference of cursive and calligraphy
- Calligraphy Paper
- Understanding calligraphy strokes
- How letters are form by different calligraphy strokes
3. Basic Calligraphy Strokes (Demonstration) by The Happy Ever Crafter
Key Points:
- Demonstration of the different types of calligraphy strokes to practice
4. Lettering Mistakes by How To Hand Letter
Key Points:
- Do not letter too fast / too slow; set a comfortable pace
- Lifting up the pen after every letter / stroke
- How to care for your brush pen / using the correct materials
- Practice makes perfect
- Do not compare your work with others
After you've got the hang of the basics, you may watch the video below to spice up your calligraphy / handletterings with blending techniques and letter styling!
5. Calligraphy & Handlettering (After The Basics) by AmandaRachLee
PS: I found AmandaRachLee's channel few months ago and fell in love with it instantaneously. Her videos are so relaxing and somewhat satisfying to watch, and her love for art and bullet journalling has inspired me to start mine!
TOOLS AND MATERIALS
and where to buy them
There are a few online and offline stores you can get calligraphy tools / materials from such as Washilicious, CZipLee, Stickerrific or even normal bookstores such as Popular but they do not carry as much variety as the ones mentioned prior. My all time favorite store to go to is Stickerrific and I'll show you why:


How to not fall in love with their store!
PS: this post is NOT sponsored by Stickerrific although I may mention them over and over again, and it's simply because I really love their store and it's so convenient to shop with them as they're available both online and offline. If you're wondering, their shop is located in Jaya One.
I have bought brush pens from both Stickerrific as well as Popular Bookstores as well and this is why I would recommend to get yours from stores like Stickerrific - their care for brush pens. My very first brush pens were bought from Popular and I had no clue about fraying of brush pens then. However I do notice then that the pen does not produce neat lines as I thought they would. Turns out the brush pens were mostly frayed because the pens were on display and all of it can be tested out by anyone at all. And probably those without the knowledge of brush pens have damaged it.
As for Stickerrific, everything on display are not allowed for testing. If you wish to test a pen or brush pen, you're required to ask for assistance from the counter as they have testers available. That way, customers are promised a brand new non frayed brush pens and Stickerrific is the only place I have bought all my brush pens and other materials from.
Here are a few of my personal favorite brush pens:
1. Tombow Fudenosuke Brush Pens

These brush pens are the bomb! Tombow recently just launched the Fudenosuke model brush pens in colors and I have never been happier! These colored pens are only available in hard-tips, except for the black, they're available in both hard and soft tip. Stickerrific sells them both in a set and individually.
The difference between the hard and soft tip is the bounciness of the brush pens. The hard tip gives better control as compared to the soft tip, but it all comes down to personal preference. I personally like both of it as it gives me a different style of lettering. I'm able to create very thin upstrokes easily with the hard tip which gives me an elegant style of lettering while the soft tip gives me a more whimsical style of lettering. However, if you're a beginner, I believe that you should start with the soft tip to really learn the control of your brush pens.
2. Pentel Brush Pens

Pentel Brush Pens ranks pretty closely with the Tombow Fudenosuke as they're easy to control too. These brush pens come in soft tips and they're perfect to hand letter some header in a A5 notebook as the brush aren't too big / thick that would make small letterings look fat.
3. Tombow Dual Brush Pens

I started calligraphy with the Tombow Dual Brush Pens as it was highly recommended by reviewers online. It has a brush tip on one side, and a marker-like tip on the other. It is a convenient brush pen to carry around if you're someone who likes to letter not only calligraphy and you can have both the options in just one pen. However, they are much longer than regular pens so they may not fit into your pencil case unless you're carrying one which is not of ordinary sizes.
These pens require lots of control and they're more suitable for big lettering such as cards or a quote on a full A4 paper. It took me a while to get the hang of it but thanks to it, I had no issues lettering with other types of pens. Also, some of the colors can be rather light and I usually use those colors as a background color and when it's dry, I'll hand letter over them just to give it a style.
4. Koi Brush Pens & Liners

The Koi brush pens are pretty similar to the Tombow Dual Brush Pens. However they are of normal pen sizes and more compact to carry around. As for the other two 'liners' (?), I would usually use them to doodle or even handletter when I feel like spicing things up a little.
If you do not wish to spend too much money on brush pens, you can simply use Crayola markers as their tip is triangle and it's perfect to create the thin and thick strokes. Or simply use regular ball point pens and practice faux calligraphy (as shown and explain in video 1).
Pens aside, did you know that the paper you use for calligraphy is as important too? Regular / non smooth paper can easily fray your brush pens and also be the cause that your strokes 'disperses' or look un-neat. There are a few brands / type of papers that you can use, and my personal favorite would be the Rhodia Pads.

The paper is really smooth and is great for calligraphy / brush pens as they do not fray your brush pens easily. They're available in A4 and A5, in blank, dotted line as well as grids.
Link (Blank A4) : https://www.stickerrificstore.com/products/rhodia-a4-stapled-pad-classic-blank-pad
Link (Blank A5) : https://www.stickerrificstore.com/products/rhodia-a5-stapled-pad-blank
Link (Dotted A4) : https://www.stickerrificstore.com/products/rhodia-a4-spiral-pad-classic-dot
An alternative would be the HP Premium Choice Laserjet Paper (32lb). They should be more accessible to obtain as you can purchase them from any bookstore. They're great for printing worksheets and you can practice on them without the worry for damaging your brush pens.
TIPS WHEN PRACTICING CALLIGRAPHY

- Light / thin upstrokes, heavy / thick downstrokes.
- Find a comfortable position to hold your pen and practice your lettering with the same position.
- To practice on strokes and individual alphabets first, before / rather than diving straight into writing a whole word / sentence.
- Lift your pen after every stroke and letter. They appear to stick to each other from exit / upward stroke, and not from 'one touch / one line'.
- Do not rush when you're lettering! Calligraphy takes time and patience. They only appear fast in videos because they're edited / sped up.
- When you're practicing on worksheets, do not simply just trace them. Recognize the pressure and pattern, and try it on your own without tracing.
- Practice makes perfect!
MY CREATIONS


For calligraphy services / enquiry, you may e-mail me at:
Do follow me on Instagram for more calligraphy works:
Sincerely, Mels.

0 comments